파이썬으로 OpenGL 프로젝트를 생성해보자.
환경 설정
먼저 가상 환경으로 pipenv를 사용할 계획이다. pipenv 설치가 되어있고 사용법에 대해 간단하게 안다고 가정하고 본 설명을 진행한다.
파이썬 버전은 3.11로 설정하고 필요한 패키지를 다운로드 받는다.
1
2
3
4
5
6
7
8
9
10
11
12
$ pipenv --python 3.11
Creating a virtualenv for this project...
Pipfile: D:\0.dev\gltutorial\Pipfile
Using C:/Users/user/AppData/Local/Programs/Python/Python311/python.exe (3.11.0) to create virtualenv...
[=   ] Creating virtual environment...created virtual environment CPython3.11.0.final.0-64 in 4593ms
  creator Venv(dest=C:\Users\user\.virtualenvs\gltutorial-wRQ7G5gd, clear=False, no_vcs_ignore=False, global=False, describe=CPython3Windows)
  seeder FromAppData(download=False, pip=bundle, setuptools=bundle, wheel=bundle, via=copy, app_data_dir=C:\Users\user\AppData\Local\pypa\virtualenv)
    added seed packages: pip==23.0.1, setuptools==67.6.0, wheel==0.38.4
  activators BashActivator,BatchActivator,FishActivator,NushellActivator,PowerShellActivator,PythonActivator

Successfully created virtual environment!
Virtualenv location: C:\Users\user\.virtualenvs\gltutorial-wRQ7G5gd
1
2
3
4
5
6
7
8
9
10
11
12
13
14
15
16
17
18
19
$ pipenv install pyopengl glfw
Courtesy Notice: Pipenv found itself running within a virtual environment, so it will automatically use that environment, instead of creating its own for any project. Y
ou can set PIPENV_IGNORE_VIRTUALENVS=1 to force pipenv to ignore that environment and create its own instead. You can set PIPENV_VERBOSITY=-1 to suppress this warning.
Installing pyopengl...
Adding pyopengl to Pipfile's [packages]...
Installation Succeeded
Installing glfw...
Adding glfw to Pipfile's [packages]...
Installation Succeeded
Pipfile.lock (d77619) out of date, updating to (3da5fd)...
Locking [packages] dependencies...
           Building requirements...
Resolving dependencies...
Success!
Locking [dev-packages] dependencies...
Updated Pipfile.lock (1c0c578253b5acd83061ce7cbca3c7d610c546895bc3e83fd5a4467fcb3da5fd)!
Installing dependencies from Pipfile.lock (3da5fd)...
To activate this project's virtualenv, run pipenv shell.
Alternatively, run a command inside the virtualenv with pipenv run.
동작 테스트
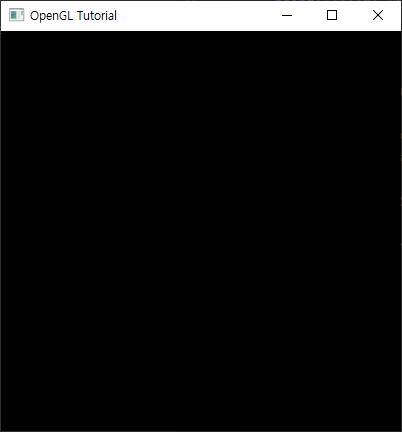
설치가 다 되었다면 코드로 실행해보자.
아래의 코드를 실행했을 때 에러 없이 실행되면 파이썬에서 개발할 준비는 끝난 것이다.
1
2
3
4
5
6
7
8
9
10
11
12
13
14
15
16
17
18
19
20
21
22
23
24
25
26
27
28
29
30
31
32
import glfw
from OpenGL.GL import *

# glfw 초기화
if not glfw.init():
    print("glfw init failed")
    exit()

# Window의 크기를 설정 및 생성한 Window 반환
window = glfw.create_window(400, 400, "OpenGL Tutorial", None, None)

if not window:
    print("create window failed")
    glfw.terminate()
    exit()

# window라는 이름의 Window를 현재 스레드의 주 context로 지정
glfw.make_context_current(window)

# Window가 종료되지 않을 때까지 루프
while not glfw.window_should_close(window):
    # 이벤트 메시지를 처리
    glfw.poll_events()

    # 지울 버퍼를 나타내는 마스크의 비트 OR 연산자
    glClear(GL_COLOR_BUFFER_BIT)

    # back Buffer와 front Buffer를 Swap (Double Buffer)
    glfw.swap_buffers(window)

# 사용된 메모리를 삭제
glfw.terminate()
전체 코드는 [깃허브] 를 확인하면 된다.
Reference
• https://www.glfw.org/docs/3.3/input_guide.html
• https://learn.microsoft.com/ko-kr/windows/win32/opengl/glclear

